Barnorama All Fun In The Barn
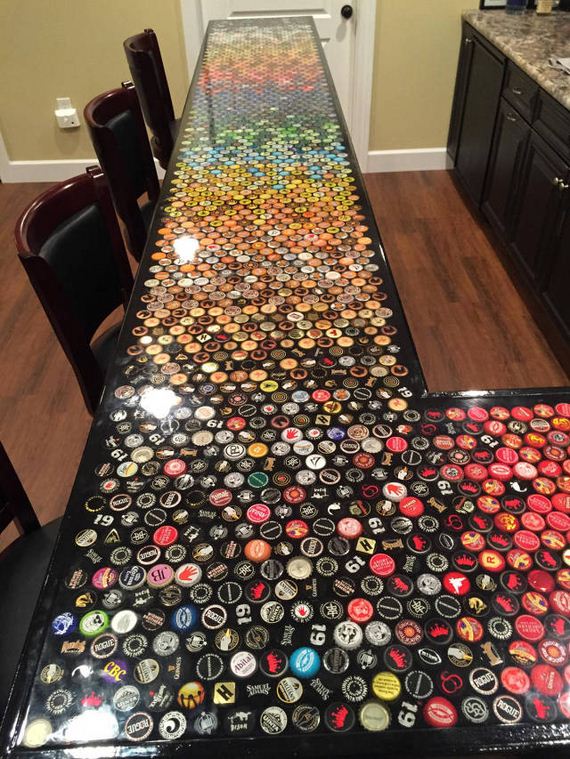
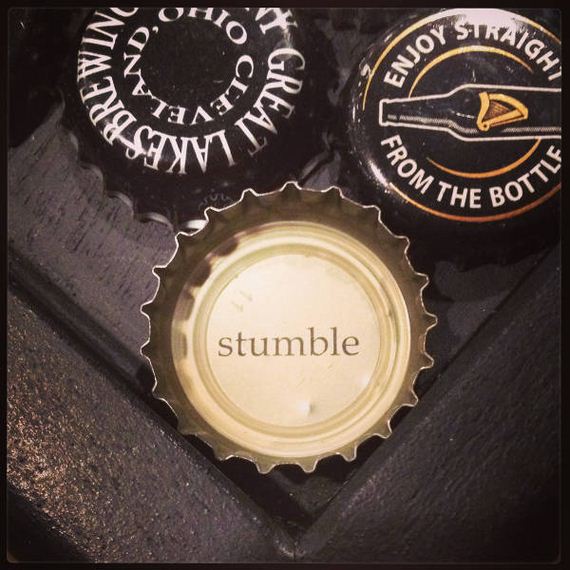
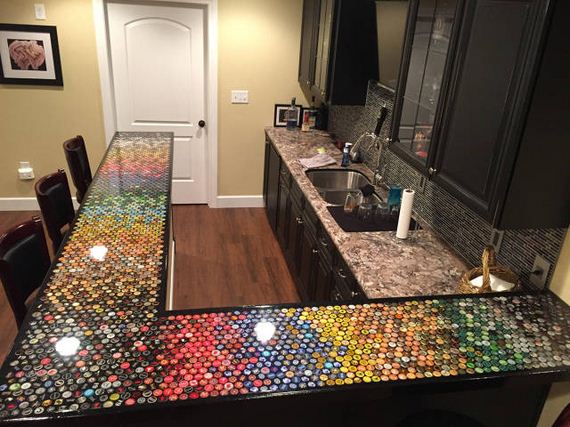
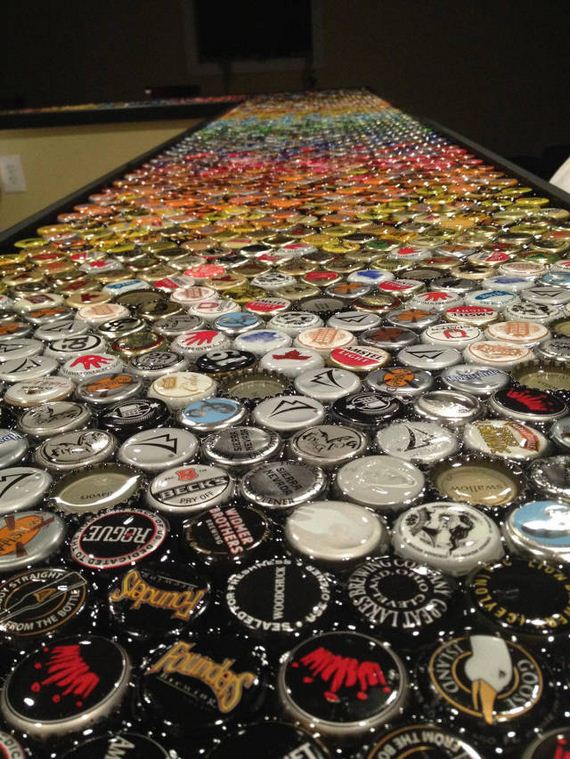
“Friends and family saved their caps for 5+ years specifically for this project. These are beer caps from domestics, craft & import.”
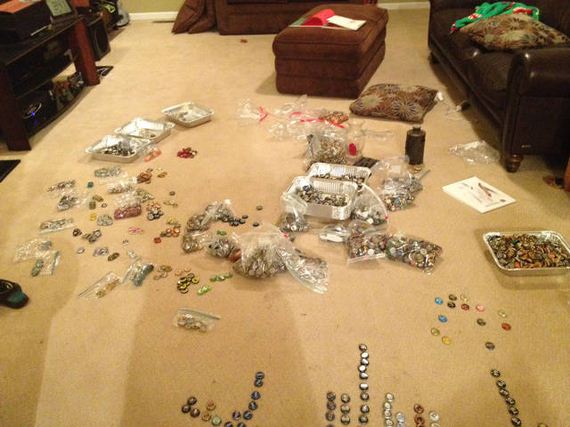
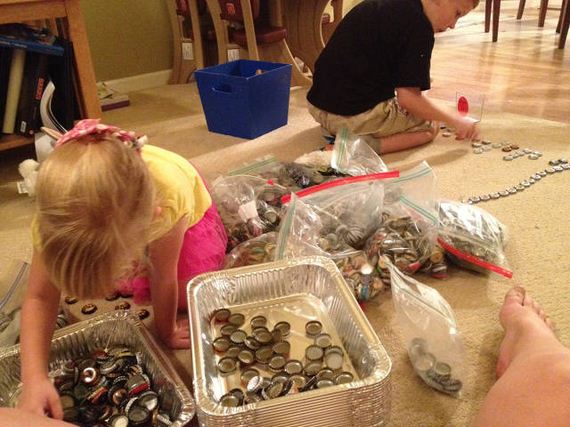
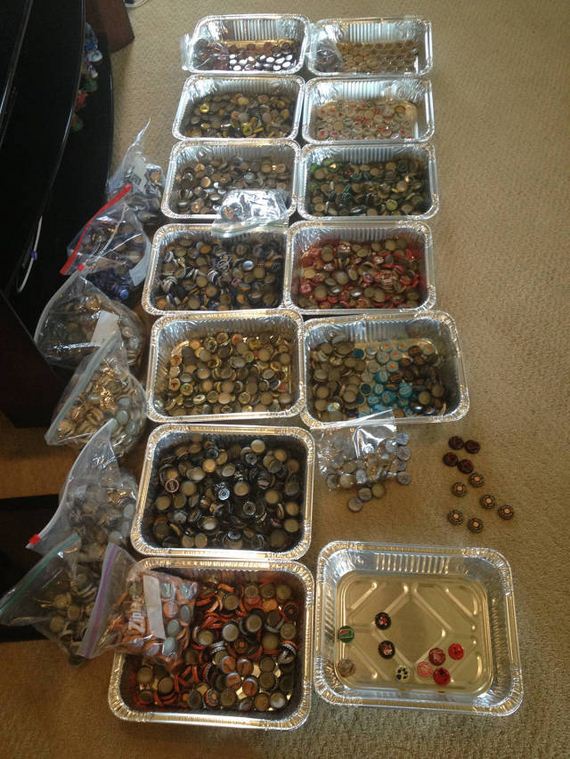
“Basically tried to bucket them into ROYGBIV. I have no idea how many, but this took a bit of time.”
“Painted matte black with several cans of Rustoleum. The finish does not have to be perfect since it will be covered in epoxy.”
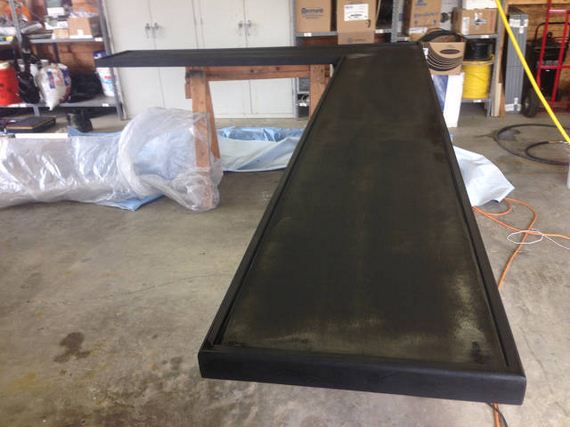
“This was taken immediately after the bar was put in it’s final position. It needs to be as close to perfectly level as possible, otherwise the epoxy resin will “pool” in low spots.”
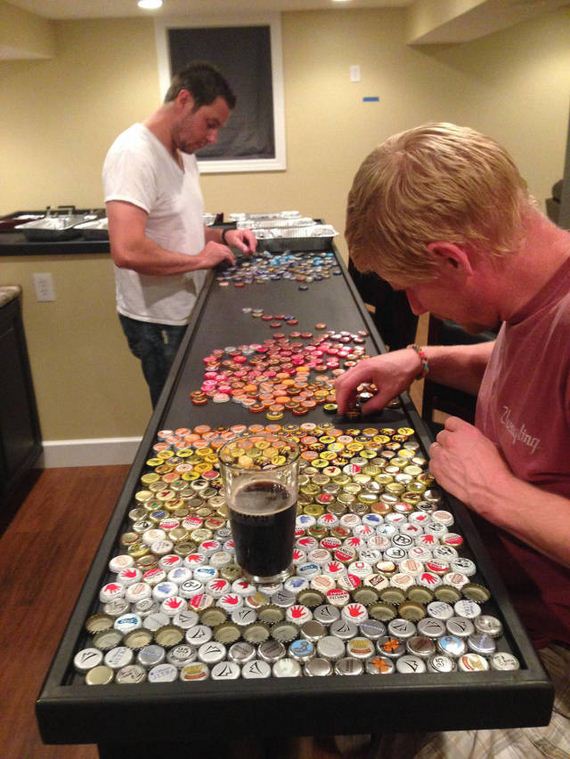
“Let the games begin! The initial concept was to lay out an image comprised of bottle caps, then reality set in and we opted for the much easier gradient effect.
To be fair, this took several attempts because of numerous factors: visually, it wasn’t as cool as I wanted it to be. Also, we had a lot of black caps, but few bright blue (for example), so laying them down “evenly” was challenging.
Unfortunately, once the caps are down, attempting to move them results in disaster due to the caps shifting/overlapping each other. So, the process would begin all over again if it wasn’t right. At one point we attempted adhering them to the bar top with spray adhesive, but that ended up looking terrible not to mention messy.”
Let the games begin! The initial concept was to lay out an image comprised of bottle caps, then reality set in and we opted for the much easier gradient effect. To be fair, this took several attempts because of numerous factors: visually, it wasn’t as cool as I wanted it to be. Also, we had a lot of black caps, but few bright blue (for example), so laying them down “evenly” was challenging. Unfortunately, once the caps are down, attempting to move them results in disaster due to the caps shifting/overlapping each other. So, the process would begin all over again if it wasn’t right. At one point we attempted adhering them to the bar top with spray adhesive, but that ended up looking terrible not to mention messy. It took a few restarts before we were satisfied with the distribution and overall visual.
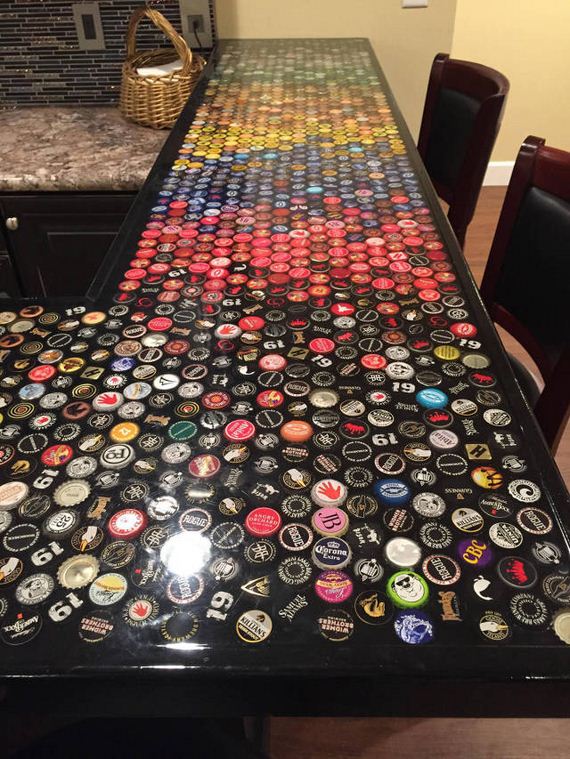
“Here you can see how we laid them out allowing the caps to “flow” into each other, rather than having hard color stops.”

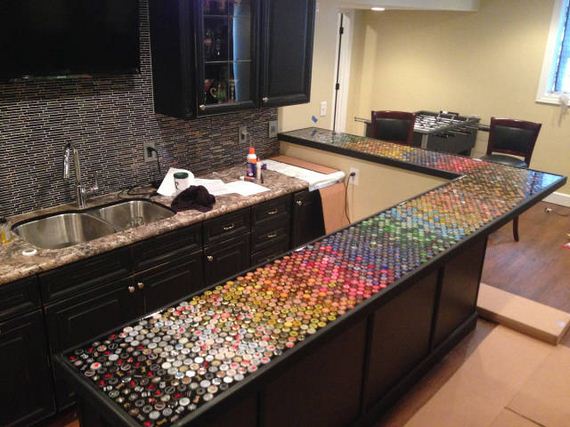
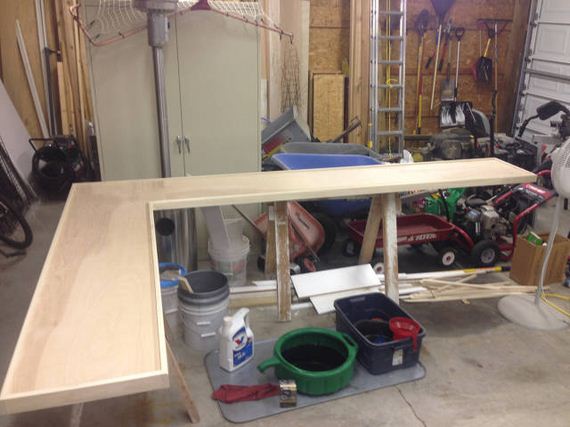
“Here is the bar top after assembly. Two large pieces of quality 5/8″ plywood form the base. The rails are 1 1/2″ poplar, and were notched with a table saw and hand routed. The whole assembly was glued and nailed.”
“As mentioned before, we did not have an equal number of caps sorted by color. Since we had far more black, we needed a way to utilize them without the overall look becoming unbalanced. It took at least 4 hours and several restarts to get to this point.”

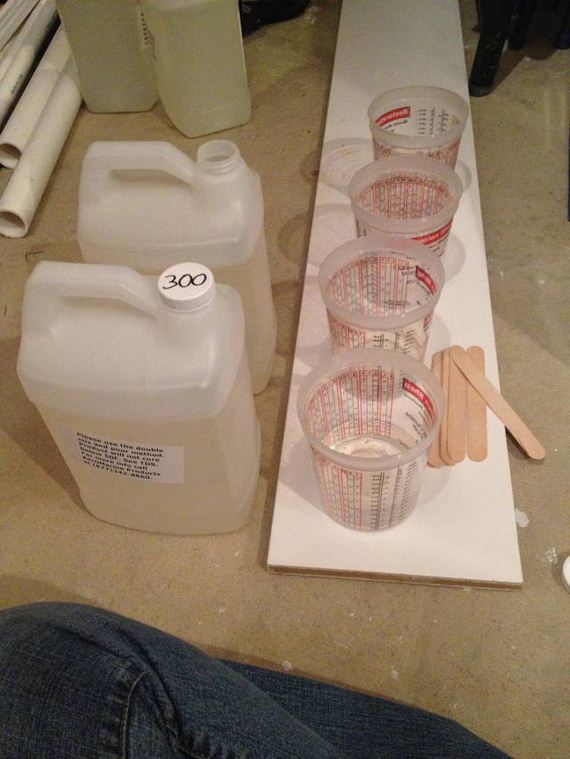
“It took ~5 layers to thoroughly cover the caps. The last layer we allowed it to flow over the sides to cover the rails, which made a helluva mess. 🙂 Again, drop cloths are your friend.”
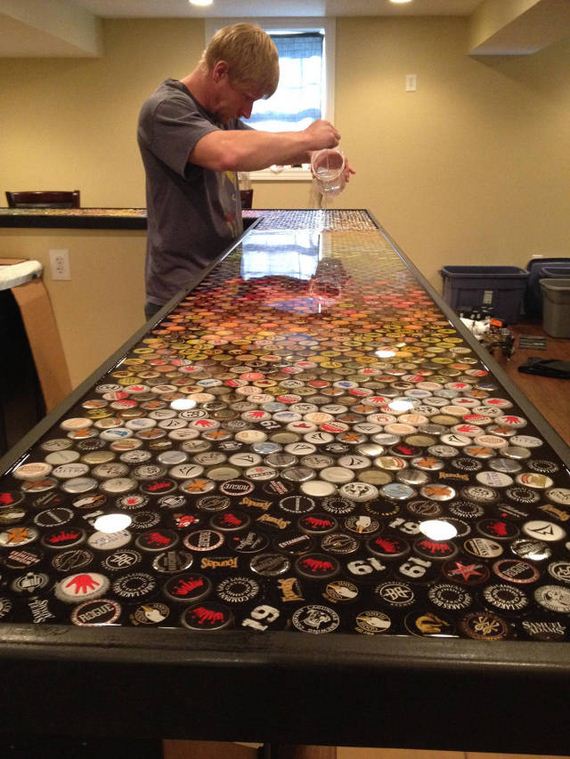
“The heat gun is used to pull the bubbles out. There may be a better way, but seems to be the most common found on the web.”