 Barnorama All Fun In The Barn
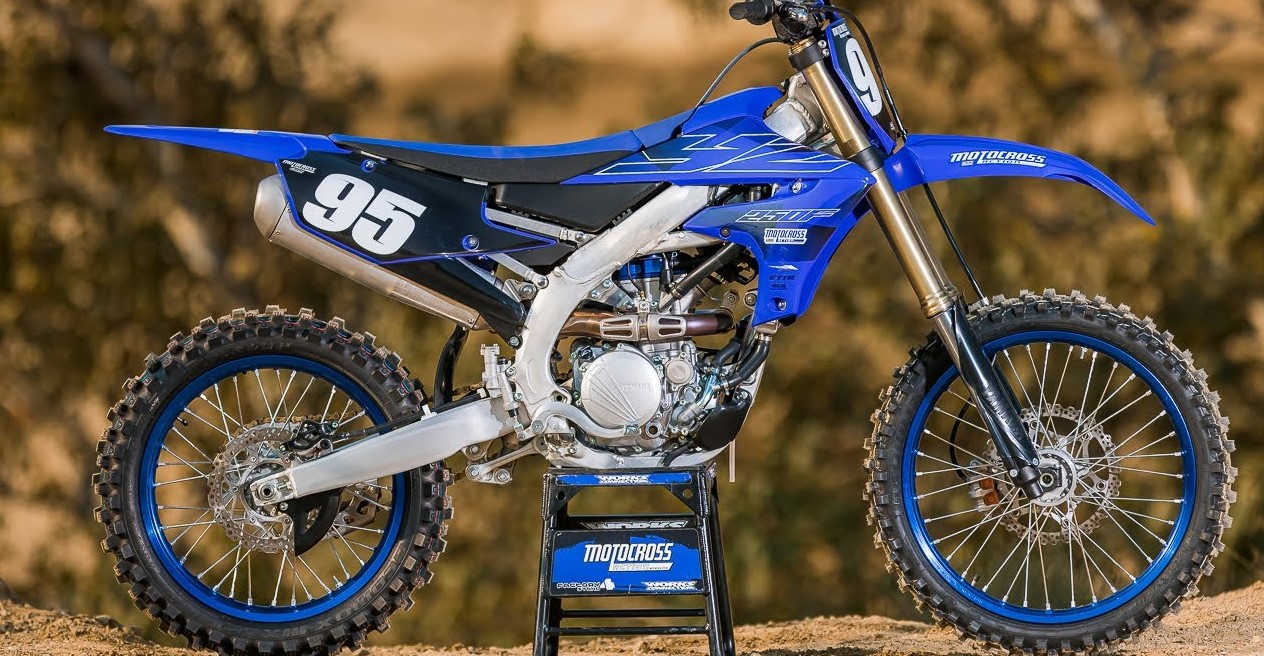
Yamaha is one of the world’s leading dirt bike manufacturers for good reasons. The company manufactures quality bikes that look cool and perform well and then sells them for reasonable prices. Why not make sure that the Yamaha dirt bike stands out from the competition with high-quality, eye-catching graphics?
How Graphics Kits Work
Graphics kits are composed of decals custom-fitted to specific makes and models of dirt bikes or motorcycles. What that means is that Yamaha YZ 250F dirt bike graphics won’t fit a Honda or even a different model of Yamaha. When a motorcycle owner buys a custom kit designed just for their bike, it will fit like a glove.
One of the great things about graphics kits is that, unlike most dirt bike mods, they are designed for easy home application. Riders don’t need mechanical knowledge or fancy tools to install their own graphics. They can transform their Yamahas in the comfort of the family garage using tools already available in most homes.
What’s Included?
There are a few kinds of graphics kits, each of which comes with different types of decals. Full graphics kits will include:
- Radiator shrouds
Airbox decals
Custom number plates
Front and rear fender decals
Swingarm decals
Fork guard decals
There are also kits available that cover only shrouds and airboxes, and riders can purchase individual decals as well as full graphics kits. Even if a partial kit isn’t available that features the design a rider wants, installing the graphics at home will allow them to omit decals as needed.
How to Apply Graphics
While choosing the right graphics kit is largely a matter of personal preference, applying the graphics requires following some pre-established steps and guidelines. Here’s what to do:
- Remove old graphics, if applicable, taking care to get rid of any lingering adhesive.
Clean the bike using soap and water.
Lay out the graphics, making sure that all of them fit correctly.
Apply the graphics one at a time, removing the backing carefully and starting from the inside and moving out or going from the top to the bottom.
Remove air bubbles before moving on to the next graphic.
Repeat steps four and five until all decals are applied.
Heat treat the graphics to make sure they stay in place, particularly around the edges.
Wait 24 hours before taking the bike out on the trails or tracks.
Some people prefer to apply graphics dry, while others use the wet method. The wet method involves spraying down each piece of plastic with soapy water before applying the graphic and then using a squeegee to get rid of any air bubbles. This method makes it easier to get everything perfectly in place before drying and heat-treating the decals, so it’s good for beginners.
The Importance of Quality
When customizing a Yamaha dirt bike with a new graphics kit, riders should make a point of finding high-quality decals. Good decals will stay in place for years to come and protect the bike’s plastic against not just inclement weather but also sun, dirt, and debris. Be sure to purchase graphics from a reliable manufacturer that uses UV coatings and fits every graphics kit to a specific make and model of bike. Buying online gives riders access to the widest selection of high-quality graphics and comes with the added benefit of receiving them at home, right where they’ll be applied.